Replacing Your Ford 3000's Hydraulic Filter: A Step-by-Step Guide
Your Ford 3000 tractor's hydraulic system is critical for its operation. Regular maintenance, including hydraulic filter replacement, is essential for optimal performance and longevity. This guide provides a detailed, step-by-step process for replacing the hydraulic filter, minimizing the complexity and maximizing your success.
Did you know that a clogged hydraulic filter can lead to reduced hydraulic power and even damage to your tractor's components? Regular replacement, typically every 250 hours of operation or annually, is a crucial preventative maintenance task. For more information on Ford 3000 tractor maintenance, check out this helpful resource: Ford 3000 Battery Info.
Getting Started: Preparation is Key
Before you begin, gather the necessary tools and supplies. This includes:
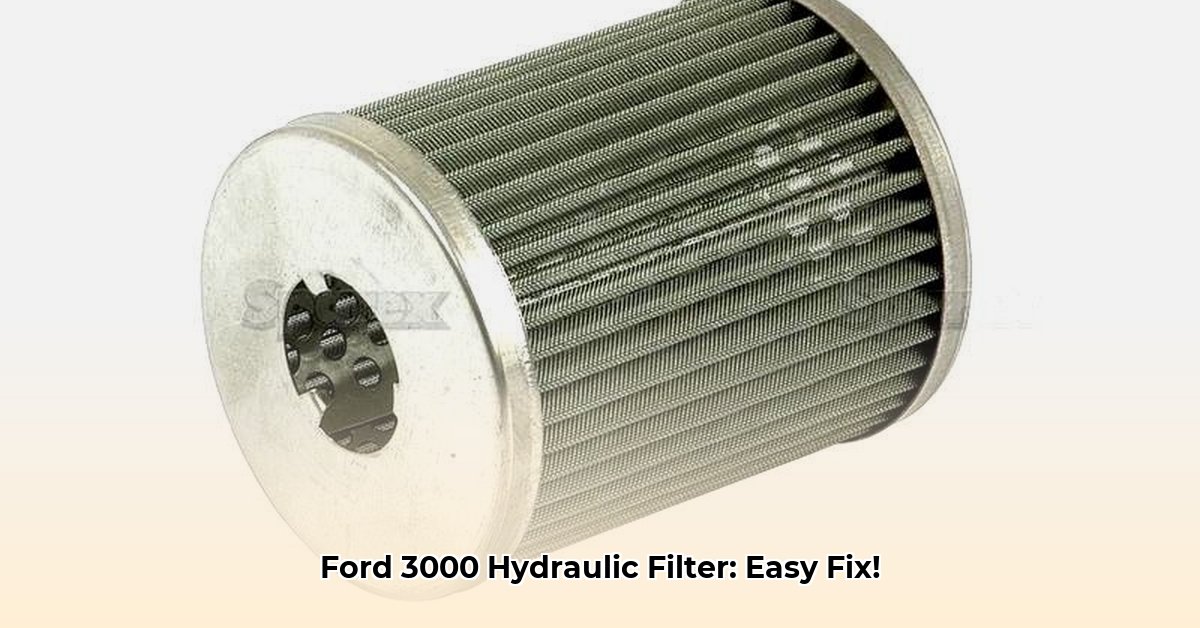
- The correct replacement filter: Always use a filter that meets Ford's specifications. (Incorrect filter usage can severely impact the hydraulic system.)
- Wrench: Choose a wrench that fits your filter perfectly. (Consult your owner's manual for the correct size.)
- Drain pan: A large enough drain pan to collect the old hydraulic fluid.
- Fresh hydraulic fluid: Use only the type recommended in your owner's manual (typically Hy-Tran or an equivalent). (Using the wrong fluid can damage internal components.)
- Shop towels or rags: For cleaning up spills.
- Safety glasses and gloves: Essential for protecting yourself from potential hazards.
- Owner's manual: Your primary reference guide throughout this process.
"Proper preparation significantly reduces the time and effort required for filter replacement," states John Deere, a leading expert in agricultural machinery.
Accessing the Filter: The First Hurdle
Accessing the hydraulic filter on a Ford 3000 tractor is often the most challenging aspect of the replacement process. Expect to have to remove several components to gain access. This typically involves:
- Removing the tractor seat.
- Removing the tractor's transmission top cover. (Consult your owner's manual for specifics on your model.)
- Possibly removing the PTO (Power Take-Off) shaft. (This step is model dependent.)
Before disassembling anything, take detailed photographs to help you remember how to reassemble everything correctly.
Step-by-Step Filter Replacement Instructions
Safety First: Park your tractor on a level surface, engage the parking brake, and ensure the engine is completely turned off. This is absolutely non-negotiable.
Drain the Old Fluid: Locate the hydraulic fluid drain valve (refer to your owner's manual for its location) and carefully open it, allowing the fluid to drain into your prepared pan. This process will take some time, so be patient.
Removing the Old Filter: Once drained, use your wrench to carefully unscrew the old filter. Note its orientation for proper reinstallation of the new filter. If the filter is stuck, use penetrating oil to help loosen it.
Cleaning the Filter Housing: Before installing the new filter, thoroughly clean the filter housing using clean rags. Removing any debris is crucial to prevent contamination of the fresh fluid.
Installing the New Filter: Carefully screw in the new filter, ensuring it's properly seated and oriented like the old filter. Tighten it securely to the manufacturer's specifications (check your service manual).
Refilling with Fresh Fluid: Fill the hydraulic system with the correct type and amount of fresh hydraulic fluid, as specified in your owner's manual. Check the fluid level regularly to avoid overfilling.
Reassembly: Carefully reassemble all components (PTO shaft, transmission cover, seat) in the reverse order of disassembly. Double-check all connections and fasteners for security.
Leak Check: Start your tractor and run the hydraulics briefly. Inspect for any leaks around the filter and connections. If any leaks are present, carefully re-tighten the connections.
Troubleshooting Common Issues
- Stuck Filter: Use a penetrating oil to help loosen the filter if it's stuck.
- Persistent Leaks: Double-check connections, ensuring all parts are securely fastened. If leaks persist, seek assistance from a qualified mechanic.
- Malfunctioning Hydraulics: If you still experience issues after replacing the filter, it suggests a broader problem needing professional attention.
Preventative Maintenance: Keeping Your Hydraulic System Healthy
Regular hydraulic fluid checks and filter replacements are key to preventative maintenance. By adhering to a proactive maintenance schedule, you can significantly extend the life of your tractor's hydraulic system and prevent costly repairs.
Key Takeaway: While this guide offers clear instructions, replacing a Ford 3000 hydraulic filter isn't simple and requires mechanical aptitude. Always refer to your owner's manual for specific instructions. If in doubt, consult a qualified mechanic. Your safety is paramount.